This post assumes that you are using Raspbian Jessie.
Stretch the filesystem to the complete capacity of your MicroSD card
If you executed df -h you'll notice that the root filesystem is just around 2GB or so. This is done to make it fit to 2GB SD cards. Most likely though, you have 4GB or even 8GB MicroSD card, so you might want the OS to make use of that entire space. To do so, execute:
sudo raspi-config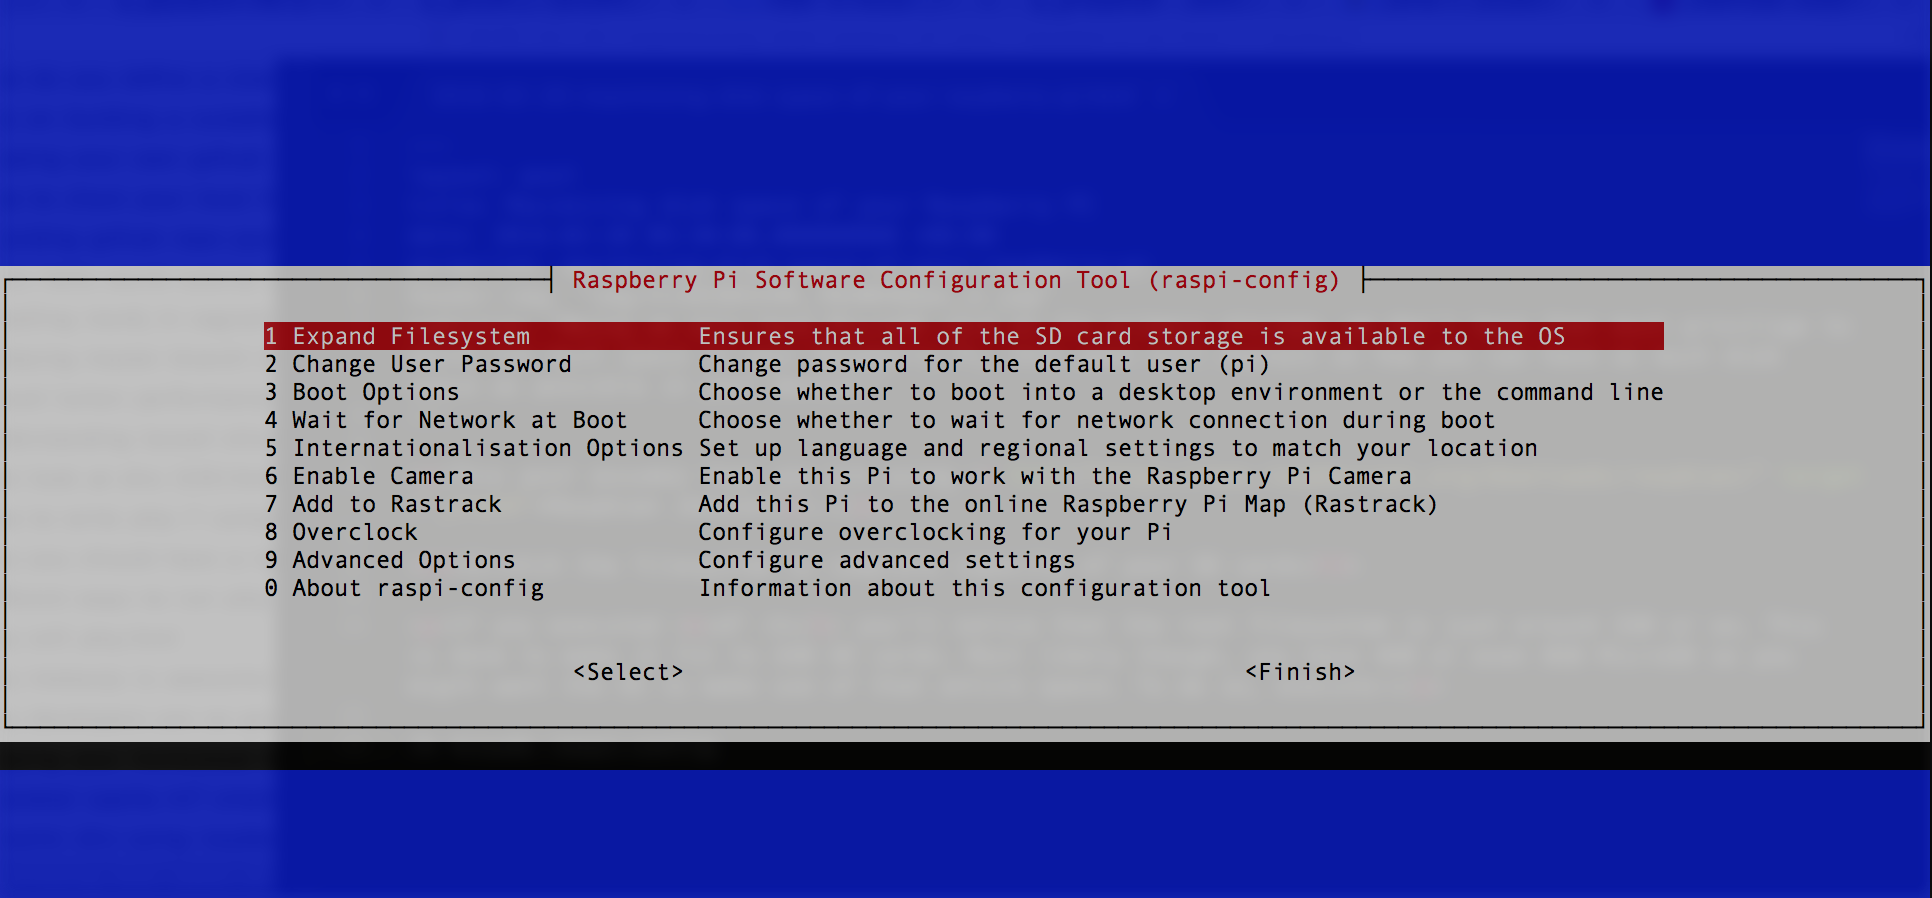
Select expand_rootfs to make use of the entire space of your SD card. This will require a reboot. After rebooting, try df -h again and you'll see you have way better larger disk space available for your device.
Remove the GUI
If you are like me, I don't really use my Raspberry PI with a monitor, I rather use my laptop and connect to my RPI via SSH. For that reason, I don't need any of those GUI-related packages so I rather just purge them. To do so:
sudo apt-get --purge remove x11-*
sudo apt-get --purge autoremove
This will uninstall all x11 components and all their dependencies. In my case, I saved around ~1.5GB worth of disk space.
Use NFS mount as much as possible
In my case, I have a NAS storage server, called DLINK DNS-320L ShareCenter. I strongly suggest you also do. From your NAS storage, create a NFS mount and mount it somewhere in your RPI filesystem. I use it for some really large files (file uploads for example), instead of writing them all to my SD card. This will keep your SD card dedicated for OS files and you can have your data files intact in your NAS storage.
Did you find this useful?
I'm always happy to help! You can show your support and appreciation by Buying me a coffee (I love coffee!).